How to Make Chewy vs Crispy Cookies (The Science Behind Cookie Texture)
Quick Answer: The difference between chewy vs crispy cookies comes down to five variables you can control: fat type, sugar type, flour amount, egg ratio, and bake time. More brown sugar and butter make cookies chewy. More white sugar and a longer bake make them crispy. More egg yolks add chew. More flour adds crunch. Once you understand these levers, you can take any cookie recipe and tune it to your exact texture preference — no new recipe needed.
This post contains affiliate links. If you buy through them, I may earn a small commission at no extra cost to you — it’s what keeps this site running and lets me keep testing gear so you don’t have to.
Why the Same Recipe Gives Different People Different Results
Have you ever followed a cookie recipe that promised “perfectly chewy” results and ended up with something crispy? Or tried a “thin and crispy” recipe and pulled out soft, puffy cookies?
It’s not the recipe’s fault — and it’s not yours. Cookie texture is controlled by a handful of variables, and small differences in how you handle those variables produce dramatically different results. The amount of flour (which changes based on how you measure it), the temperature of your butter, how long you bake them, and even the color of your pan all push a cookie toward chewy or crispy.
Once you understand what each variable does, you stop following recipes blindly and start controlling the outcome. That’s the difference between a baker who gets lucky sometimes and a baker who gets exactly what they want every time.
The Chewy vs Crispy Cookies Spectrum
Cookies don’t fall into two neat categories. They exist on a spectrum:
Crispy → thin, crunchy throughout, snaps when you bend it, golden brown from edge to center
Crispy-chewy → crispy edges with a slightly softer center, the classic bakery cookie
Chewy → soft, dense, bends without breaking, moist interior that sticks slightly to your teeth
Cakey → puffy, light, cake-like texture with a dry crumb (usually not what people want when they say “chewy”)
Most people want something in the chewy to crispy-chewy range. Here’s how to get there.
The 7 Variables That Control Cookie Texture
1. Sugar Type — The Biggest Lever
This is the single most impactful variable, and most bakers don’t realize it.
Brown sugar → chewy. Brown sugar contains molasses, which is hygroscopic — it absorbs moisture from the air. Cookies made with more brown sugar stay moist and soft days after baking. The molasses also adds depth of flavor and a slightly denser, chewier texture.
White sugar → crispy. White sugar has no molasses. It dries out faster, which means cookies made with more white sugar spread thinner and crisp up more during baking. They also brown more evenly and develop a crunchy, caramelized edge.
How to use this:
- All brown sugar → maximum chew
- All white sugar → maximum crisp
- Half and half → the classic middle ground (most recipes use this)
- To make any recipe chewier: swap some white sugar for brown
- To make any recipe crispier: swap some brown sugar for white
Keep the total sugar amount the same — just change the ratio.
2. Fat Type — Butter vs Oil vs Shortening
Butter → crispy edges, chewy center. Butter melts at a lower temperature than other fats, which means cookies spread more in the oven before the structure sets. More spread = thinner cookies = crispier edges. But butter also contains water (~15%), which creates steam that adds a slight chew to the interior.
Melted butter → extra crispy and chewy. Melting butter before mixing coats the flour with fat more completely, which reduces gluten development and creates a denser, chewier cookie with crispier edges. This is the secret to bakery-style cookies.
Shortening → puffy and soft. Shortening melts at a higher temperature than butter, so cookies spread less and stay thicker. The result is a softer, puffier cookie — but with less flavor than butter provides.
Oil → chewy and dense. Oil coats flour even more completely than melted butter, creating maximum chew. But cookies made with all oil can feel greasy. Use oil for certain recipes (like chewy oatmeal cookies) but butter is more versatile.
How to use this:
- For crispy-edged, chewy-centered cookies: use melted butter
- For uniformly crispy cookies: use room temperature butter and cream it with sugar
- For soft, puffy cookies: substitute half the butter with shortening
- Never substitute oil for butter in a cookie recipe unless the recipe specifically calls for it
3. Flour Amount — Structure and Dryness
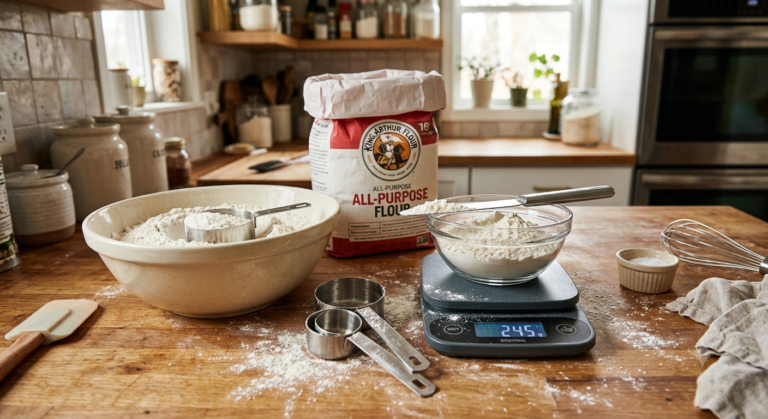
More flour → cakier and drier. Extra flour adds structure (gluten) and absorbs moisture. Cookies with too much flour are thick, dry, and crumbly rather than chewy. This is the most common cause of “my cookies turned out dry” — and it almost always comes from scooping flour from the bag instead of weighing it.
Less flour → flatter and chewier. Less flour means less structure, which means more spread and a denser, chewier cookie. But go too far and the cookies won’t hold their shape at all — they’ll spread into flat, greasy puddles.
How to use this:
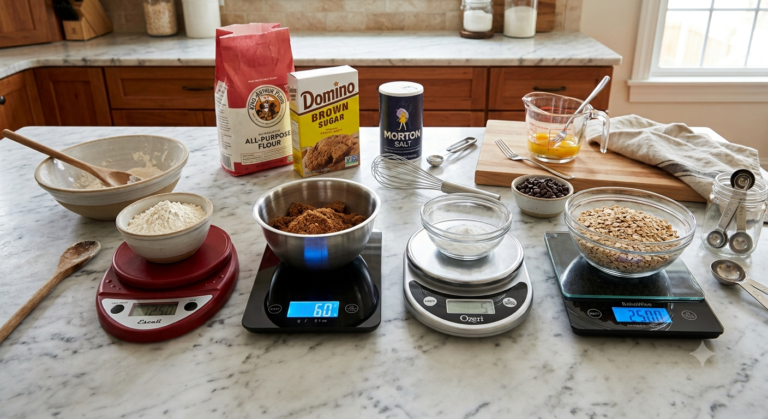
- Weigh your flour — 120 to 130 grams per cup of all-purpose flour
- To make cookies chewier: reduce flour by 10 to 15 grams (about 1 tablespoon)
- To make cookies cakier: add 15 to 30 grams more flour
- Always weigh, never scoop — the difference between a scooped cup and a weighed cup can be the entire gap between chewy and dry
4. Eggs — Whole Eggs vs Extra Yolks
Whole eggs → balanced texture. Most recipes call for 1 to 2 whole eggs, which provide both structure (from the white) and richness (from the yolk).
Extra egg yolk → chewier. Yolks add fat and emulsifiers without adding the water and protein that whites bring. An extra yolk makes cookies richer, denser, and chewier. This is one of the most popular cookie hacks — many bakery-style recipes call for 2 whole eggs plus 1 extra yolk.
Extra egg white → cakier. Whites add water and protein, which creates more steam and more structure. More whites push cookies toward cakey and dry.
How to use this:
- For chewier cookies: add one extra egg yolk (discard or save the white)
- For cakier cookies: add one extra whole egg
- Don’t add extra whole eggs hoping for “richer” cookies — you’ll get cakey
5. Bake Time and Temperature — The Final Dial
Shorter bake, higher temp → chewy. Pulling cookies out while the centers still look slightly underdone gives you a chewy result. The centers continue setting from residual heat as the cookies cool on the pan. This is the professional baker’s trick — underbake by 1 to 2 minutes for maximum chew.
Longer bake, standard temp → crispy. Leaving cookies in until the edges are deeply golden and the centers are fully set drives out moisture and creates a crunchy, crispy cookie throughout.
How to use this:
- For chewy: bake at the recipe’s temperature but pull them 1 to 2 minutes early, when centers look barely set
- For crispy: bake until edges are deep golden brown and centers are fully set — usually 1 to 2 minutes beyond the recipe’s time
- For crispy-chewy: follow the recipe’s time exactly
Critical: These adjustments only work if your oven temperature is accurate. If your oven runs 30 degrees hot, “1 minute early” might already be too late. Use an oven thermometer to verify.
👉 Check current price: Rubbermaid Oven Thermometer on Amazon →
6. Chill Time — The Patience Variable
No chill → more spread, crispier edges. Room temperature dough hits the hot oven and immediately starts melting and spreading. More spread means thinner cookies with crispier edges.
30 minutes to 1 hour chill → controlled spread, chewy. Chilling firms up the butter so the cookies hold their shape longer in the oven before spreading. This creates a thicker, chewier cookie with a more concentrated flavor.
24 to 72 hour chill → maximum flavor, optimal chew. Extended chilling allows the flour to fully hydrate and enzymatic reactions to develop deeper, more complex flavors. Many professional bakers refrigerate cookie dough for 24 to 48 hours before baking. The texture difference is subtle, but the flavor difference is dramatic.
How to use this:
- In a hurry? Skip the chill for crispy-edged cookies
- Want perfect chewy cookies? Chill at least 30 minutes
- Want the best cookies you’ve ever made? Chill 24 hours (seriously — try it once)
7. Pan Color and Liner — The Equipment Variable
Your pan and liner affect the bottom of every cookie, which impacts the overall texture perception.
Dark pans → crispier bottoms. Dark pans absorb more heat and brown the bottoms faster. Combined with the variables above, this pushes cookies toward crispy.
Light aluminum pans → even browning. Light pans reflect heat and give you more control. The bottom browning matches the top, so whatever texture you’re aiming for, you get it evenly. This is why we recommend light aluminum pansfor every baker.
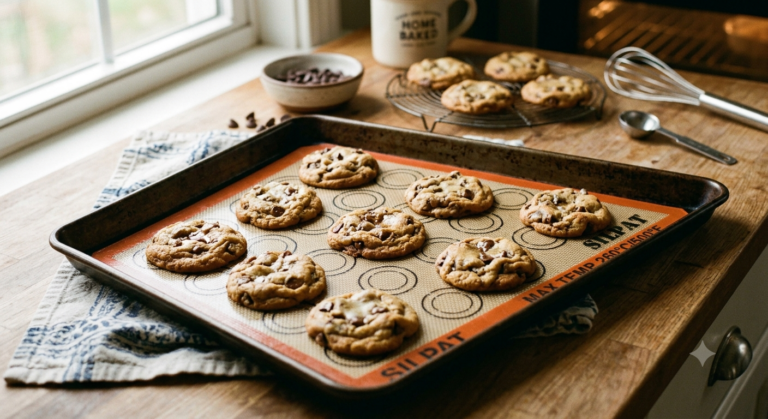
Silicone baking mat → softer bottoms. The mat insulates the bottom of the cookie from direct pan heat, producing a slightly softer underside. If you want maximum chew on the bottom, use a silicone mat.
Parchment paper → middle ground. Less insulation than a silicone mat, but still prevents direct contact with the pan. A good default for most cookie baking.
👉 Check current price: Nordic Ware Naturals Half Sheet on Amazon → 👉 Check current price: Silpat Baking Mat on Amazon →
The Cheat Sheet
| Variable | For Chewy Cookies | For Crispy Cookies |
|---|---|---|
| Sugar type | More brown sugar | More white sugar |
| Fat | Melted butter | Creamed room temp butter |
| Flour | Slightly less (~15g less per cup) | Slightly more (~15g more) |
| Eggs | Add extra yolk | Use whole eggs only |
| Bake time | Pull 1–2 min early | Bake 1–2 min longer |
| Chill time | 30 min to 24 hours | Skip or minimal chill |
| Pan | Light aluminum + silicone mat | Light aluminum + parchment |
Print this table or save it to your phone. It works with any cookie recipe.
Common Cookie Texture Problems
“My cookies are crispy when I want them chewy”
- Swap some white sugar for brown
- Use melted butter instead of creamed
- Add an extra egg yolk
- Pull them 1–2 minutes earlier
- Chill the dough before baking
“My cookies are soft when I want them crispy”
- Swap some brown sugar for white
- Cream the butter with sugar instead of melting it
- Bake a minute or two longer
- Skip the chill time
- Use parchment instead of a silicone mat
“My cookies are dry and crumbly”
- You almost certainly have too much flour — weigh it
- Check your oven temperature with a thermometer
- Don’t overbake — pull them when centers look barely set
“My cookies burn on the bottom”
- Switch to a light aluminum pan
- Add a silicone mat for insulation
- Check your oven temperature
- Full guide: Why Cookies Burn on the Bottom
The Bottom Line
The difference between chewy vs crispy cookies isn’t about finding the right recipe — it’s about understanding the variables that control texture and adjusting them to match what you want. Brown sugar, melted butter, an extra yolk, and a shorter bake give you chewy. White sugar, creamed butter, and a longer bake give you crispy. Everything in between is yours to dial in.
The most important tools for consistent results are a kitchen scale (so your flour is accurate every time) and an oven thermometer (so your bake time means what it should). Those two tools — under $25 total — give you the precision to control texture on purpose instead of by accident.
For more tools that make every bake consistent, check out our beginner baking kit under $50 or our complete Essential Baking Tools for Beginners guide.
Happy baking, Clara Belle
Last updated: [DATE]. Prices fluctuate — always check current Amazon pricing before buying.